Optimizing your website’s SEO is key to driving organic traffic from Google and achieving your website’s maximum potential. As a Grand Junction marketing agency and local Yoast SEO experts, we’re in the business of helping your business grow – and we know how important SEO is when it comes to delivering high-quality leads. That’s why we’ve put together this step-by-step quick-start guide to getting the most out of your WordPress SEO using the Yoast SEO plugin.
Whether you’re a small business owner, an entrepreneur, or a marketer, this guide will equip you with the necessary knowledge to optimize your site, improve its visibility, and attract more high-quality leads in just ten steps.
Before we go any further, just a quick note — using Yoast SEO helps your site perform better in search engines like Google, but it is not the same as implementing a comprehensive SEO strategy (we can help with that!). Yoast itself is not SEO — it is simply a tool that helps you signal to search engines certain structured information about your page. Think of it as a guiding light, but not an end result.
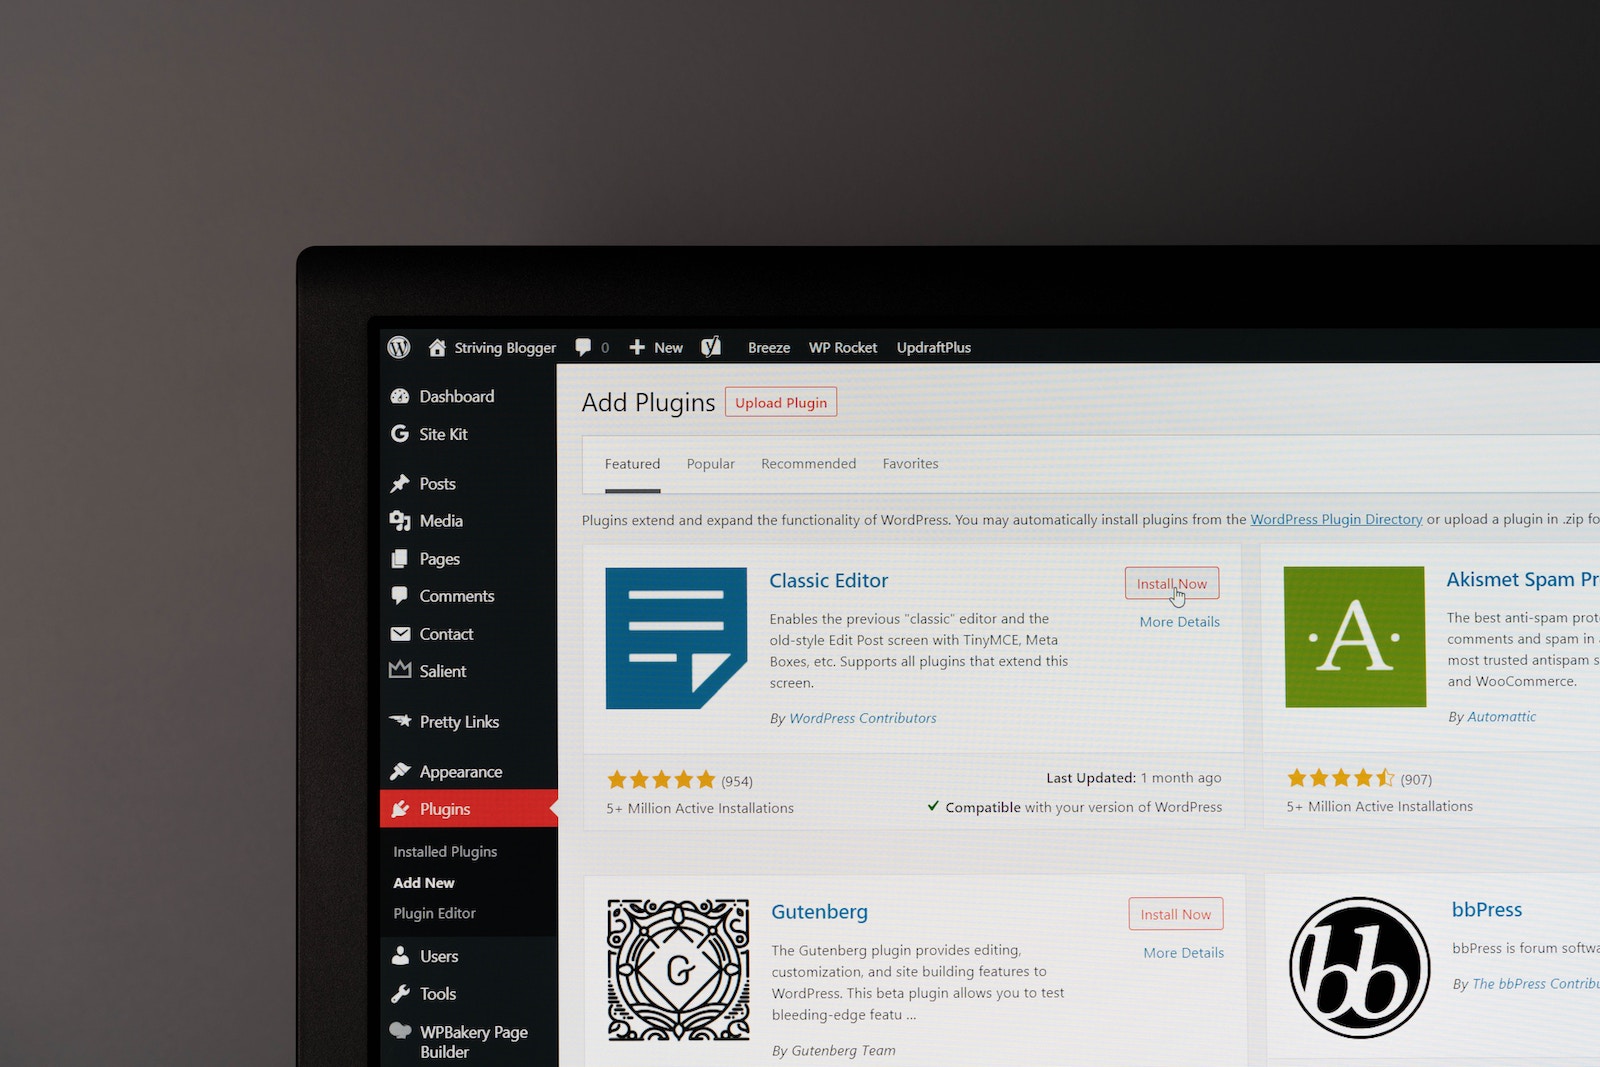
Photo by Justin Morgan on Unsplash
Step 1: Monitor SEO Performance
Monitoring your SEO performance is crucial to understanding the effectiveness of your optimization efforts. Yoast SEO provides valuable insights and features to help you monitor your SEO performance. Here’s how to make the most of it:
-
- Utilize Yoast SEO’s SEO analysis feature to assess the optimization of your content. Pay attention to the feedback provided and make necessary adjustments.
- Monitor keyword optimization scores and aim to improve them over time.
- Regularly review Yoast SEO’s readability analysis and enhance the readability of your content based on the suggestions.
- Track keyword rankings using external tools like Google Search Console or third-party SEO platforms.
- Adjust your keyword targeting and optimization strategies as needed.
- Analyze organic traffic data to measure the impact of your SEO efforts with an online tool like Google Analytics (GA4).
- Monitor engagement metrics such as bounce rate, time on page, and conversion rates to evaluate the quality of the organic traffic you’re attracting.
Monitoring your SEO performance enables you to identify areas for improvement, make data-driven decisions, and refine your optimization strategies to achieve better results.
Step 2: Install and Activate Yoast SEO
Once you’re connected to Google Search Console and GA4, the next step to optimizing your WordPress SEO is installing and activating the Yoast SEO plugin. Yoast SEO is a highly popular and feature-rich plugin that can significantly enhance your site’s search engine visibility. It’s also super easy to use.
To install and activate Yoast SEO, follow these steps:
-
-
- Go to your WordPress dashboard.
- Click on “Plugins” in the sidebar menu.
- Select “Add New.”
- Search for “Yoast SEO.”
- Click on “Install Now” next to the Yoast SEO plugin.
- Once installed, click on “Activate.”
-
By activating Yoast SEO, you’ll unlock a wide range of SEO optimization features and tools that can take your WordPress site to the next level. MSB installs Yoast SEO as a standard tool for each of our clients. When Yoast first activates, it will run a configuration wizard. We recommend sticking to the wizard rather than trying to set up the more technical aspects of Yoast yourself, for the sake of ensuring optimized performance of the plugin and correct setting of permalinks.
MSB automatically installs Yoast and configures it for success as part of our Advanced Service Pack, which also includes recommended plugins for security, site optimization, forms, calendars, editing tools, administration, e-commerce, and to assist with SEO across the site as a whole (we’ll take care of all of this for you, so you don’t have to worry about it).
Step 3: Configure Yoast SEO General Settings
After activating Yoast SEO, it’s essential to configure the general settings to align with your site’s requirements. Yoast provides a user-friendly interface that allows you to customize various aspects of your SEO settings. Here’s how to configure the general settings:
-
-
- Access the Yoast SEO plugin by clicking on the “SEO” tab in your WordPress dashboard.
- Select “General” to access the general settings.
- Review the options available and configure them according to your preferences.
- Enable advanced features such as XML sitemaps, breadcrumbs, and social media integration.
- Customize your title separator and other appearance settings.
- Save your changes.
-
Taking the time to configure these settings ensures that Yoast SEO is optimized to meet your specific SEO needs. Yoast will tell you how your article or page looks, SEO-wise, by rating the content as being SEO friendly with a Red (bad), Orange (meh), or Green (good) rating.
When crafting a blog post, Yoast has an area where you can enter a Meta Description, which is a structural element that let’s you tell Google what 100-150 characters should be displayed to summarize the content of the page.
Additionally, Yoast provides great Readability metrics that use industry-standard mathematical textural analysis to determine how easy it is to read and let you know the age appropriate target for what is written. Effectively, this means that Yoast can tell you how easy it is for someone to read and understand your article or content, and what you can do to make it even easier for them (if anything). It can even analyze your page to help you include inclusive language if that is something you care about.
Step 4: Perform Solid Keyword Research
The foundation of effective SEO is solid keyword research. Start by identifying target keywords that align with your content and audience using keyword research tools like Google Keyword Planner, SEMrush, or Moz’s Keyword Explorer. Look for keywords with high search volume and manageable competition. With your target keywords in hand, you can optimize your content more effectively. Note that connecting to Google Search Console and Google Analytics is a prerequisite to tying your site into most keyword research tools.
We’ve put together a free 10-point guide to performing the best keyword research using Google’s Keyword Planner. Grab the guide at the bottom of this post!
Step 5: Optimize Content with Focus Keywords
Yoast SEO allows you to set focus keywords for each page or post on your WordPress site. Focus keywords (FKW) are the main terms you want your content to rank for in search engine results. As you create or edit content, enter the focus keyword into the “Focus Keyphrase” field provided by Yoast SEO. These can be a single word or a phrase, and should not only be implemented naturally in the first sentence of both the lead and closing paragraphs, but also in the article URL and throughout the post.
However, the key point there is “naturally” — putting keywords in places where they don’t sound normal is known as keyword stuffing and can actually hurt your SEO. If you’re unsure as to whether your keyword appears naturally, try reading the sentence or paragraph in which it is placed out loud, and consider whether or not you’d phrase it that way if you were speaking to someone in person. If not, you may be guilty of stuffing.
In Grand Junction, for example, many businesses seek to rank for keywords relating to outdoor recreation and the gear that accompanies outdoor adventure. Let’s say you want to write a post to promote line of hiking backpacks that are designed for use in the high desert. Using Google’s Keyword Planning tool, you discover that targeting the keyword “best backpacks for high-desert hiking” has the potential to drive good traffic to your site.
If your keyword is more than three words, known as a “long-tail keyword,” you can help your SEO by also including shorter, more direct versions of the keyword. For the example above, “hiking backpacks” and “desert hiking,” and plays on those phrases, can also be beneficial as they convey authority about the broader topic of hiking backpacks and desert hiking.
Incorporate the focus keyword, and secondary keywords that are similar, naturally into headings, subheadings, and body text. Yoast SEO will provide real-time feedback and suggestions to help you optimize your content based on the chosen focus keyword. Aim to create high-quality, engaging, and informative content that provides value to your audience and has a natural keyword density.
By optimizing your content with focus keywords, your site has a better likelihood of ranking higher in search engine results and attracting targeted organic traffic. Local SEO targeting could include adding a location to your secondary keywords, like “best backpacks for hiking near Grand Junction” or “top Grand Junction hikes.”
See below this article for MSB’s 10-point guide to doing the best keyword research!
Step 6: Ensure Readability
In addition to keyword optimization, readability is also an important aspect of SEO. Ensure your content is readable by following these tips:
-
-
- Structure your content with clear headings, subheadings, and paragraphs.
- Keep sentences and paragraphs concise and easy to understand.
- Use transition words to enhance the flow of your content.
- Avoid excessive use of passive voice and complex sentence structures.
- Break up your content with bullet points, numbered lists, and visuals to improve readability.
- Pay attention to Yoast SEO’s readability analysis and make the necessary adjustments to enhance the overall readability of your content.
-
Improving readability not only benefits your audience but also makes it easier for search engines to understand your content, potentially improving your search engine rankings.
Step 7: Craft Engaging Meta Titles and Descriptions
Meta titles and descriptions summarize your site and play a crucial role in attracting clicks from search engine users. Yoast SEO allows you to optimize these elements for each page or post on your WordPress site. As you craft your meta titles and descriptions, here are some things to keep in mind:
-
-
- Ensure that your meta title accurately reflects the content of the page or post.
- Include relevant keywords naturally in the meta title to improve search engine visibility.
- Write concise and compelling meta descriptions that entice users to click.
- Incorporate a call-to-action or highlight a unique selling proposition in the meta description.
- Pay attention to the character limits for both meta titles and descriptions to ensure they display properly in search engine results.
-
Crafting engaging meta titles and descriptions increases the likelihood of users clicking on your content, driving more organic traffic to your WordPress site.
Step 8: Leverage XML Sitemaps
XML sitemaps help search engines discover and index the pages of your website. Yoast SEO automatically generates XML sitemaps for your WordPress site. Here’s how you can utilize this very handy Yoast feature:
-
-
- Access the “SEO” tab in your WordPress dashboard and select “General” in the Yoast SEO settings.
- Navigate to the “Features” tab within the general settings.
- Enable the XML sitemaps feature.
- Yoast SEO will generate a sitemap for your website automatically.
- Submit your Yoast-generated XML sitemap to Google Search Console and Bing Webmaster Tools.
- Regularly update your XML sitemap as you add or remove pages from your website.
-
By leveraging XML sitemaps, you ensure that search engines can easily crawl and index your WordPress site, improving its visibility in search engine results.

Step 9: Optimize Permalinks
Permalinks are the URLs that point to your web pages. Optimizing your permalinks can improve both user experience and search engine visibility. As noted above, permalinks will be properly set if you use the Yoast Setup Wizard or MSB’s Advanced Service Pack. If you wish to customize, Yoast SEO allows you to customize and optimize your permalinks easily – here’s how:
-
-
- Access the “SEO” tab in your WordPress dashboard and select “Search Appearance” in the Yoast SEO settings.
- Navigate to the “General” tab within the search appearance settings.
- Choose a permalink structure that is both user-friendly and includes relevant keywords. The “Post name” structure is recommended for most websites.
- Customize your permalinks for individual pages or posts if necessary.
- Save your changes.
-
Optimizing your permalinks makes it easier for users and search engines to comprehend the content of your web pages, potentially improving your search engine rankings. Note that permalinks are far more affected by the Slug entry (for an individual page) and the Permalinks subsection of WordPress Settings tab. WordPress permalinks settings override Yoast permalinks settings, furthermore, which is why it’s beset to have a professional handle the SEO setup of your site.
Step 10: Stay Updated and Evolve Your SEO Strategy
SEO is an ever-evolving field, and it’s crucial to stay updated with the latest trends, algorithm changes, and best practices. Keep an eye on Yoast’s blog, industry publications, and SEO communities to stay informed. Continuously evaluate your SEO strategy, adapt to changes, and experiment with new optimization techniques to ensure your WordPress site remains competitive in search engine rankings.
Optimizing your WordPress site for SEO using Yoast SEO is a powerful way to improve your website’s visibility and attract organic traffic. By following this step-by-step guide, you can make the most of Yoast SEO to enhance your WordPress SEO efforts.
From installation to configuration, keyword research to content optimization, and monitoring your SEO performance, Yoast SEO provides the tools and guidance to maximize your website’s search engine rankings.
Keep refining your SEO strategy, stay updated with industry trends, and continue to optimize your WordPress site using Yoast SEO for long-term success.
Did you grab your copy of our 10-point checklist for keyword research?
Simplify Your Keyword Research
Get our 10-point checklist for a straightforward approach to finding the best keywords using Google’s free Keyword Planner.
You must be logged in to post a comment.